Introduction
Modern web applications often require screen recording capabilities for use cases like:
- 📌 User training sessions
- 📌 Application demonstrations
- 📌 Bug reporting
- 📌 Online tutorials
- 📌 Support recordings
Oracle APEX does not provide a built-in screen recording component, but we can easily integrate browser-based screen recording using JavaScript MediaRecorder API.
In this blog, we will create a simple screen recorder inside an Oracle APEX page that can:
✅ Capture the user’s screen
✅ Record video with audio
✅ Show live preview
✅ Stop recording
✅ Preview recorded video
✅ Automatically download the recording file
Tools & Technologies
- Oracle APEX
- JavaScript
- HTML5
- MediaRecorder API
- Browser Screen Capture API
How Does It Work?
The browser provides two important APIs:
1. getDisplayMedia()
This API allows capturing the user’s screen.
Flow:
User clicks Start Recording
          ↓
Browser asks permission
          ↓
Screen stream created
          ↓
MediaRecorder starts recording
          ↓
Video chunks stored
          ↓
Recording stopped
          ↓
WebM file generated
          ↓
Download starts
Step 1 — Create Oracle APEX Page
Create a new page:
Application Builder
        ↓
Create Page
        ↓
Blank Page
Add a Static Content Region.
Region Source:
HTMLStep 2 — Add Recording UI
Add the following HTML code inside the region:
<div style="text-align:center; padding:20px;">

<button
id="btnStart"
type="button"
class="t-Button t-Button--hot">
▶ Start Recording
</button>


<button
id="btnStop"
type="button"
class="t-Button"
disabled>
⏹ Stop & Download
</button>


<br/><br/>


<video
id="previewVideo"
width="700"
autoplay
muted
style="border:2px solid #ccc;
border-radius:8px;
display:none;">
</video>


<br/><br/>


<video
id="recordedVideo"
width="700"
controls
style="border:2px solid #007bff;
border-radius:8px;
display:none;">
</video>


</div>
This creates:
- Start button
- Stop button
- Live preview video
- Recorded video preview
Step 3 — Add JavaScript Code
Go to:
Page Designer
        ↓
Page Attributes
        ↓
JavaScript
        ↓
Execute when Page Loads
Add:
let mediaRecorder;
let recordedChunks = [];


document.getElementById('btnStart').onclick = function(){


navigator.mediaDevices.getDisplayMedia({
    video:{
        cursor:'always'
    },
    audio:true

}).then(function(stream){


const previewVid =
document.getElementById('previewVideo');


const stopBtn =
document.getElementById('btnStop');


const startBtn =
document.getElementById('btnStart');


previewVid.srcObject = stream;

previewVid.style.display='block';


recordedChunks=[];


mediaRecorder =
new MediaRecorder(stream);


mediaRecorder.ondataavailable =
function(e){

if(e.data.size > 0)
{
recordedChunks.push(e.data);
}

};


mediaRecorder.onstop =
function(){


const blob =
new Blob(
recordedChunks,
{
type:'video/webm'
});


const url =
URL.createObjectURL(blob);


const recordedVid =
document.getElementById('recordedVideo');


recordedVid.src=url;

recordedVid.style.display='block';


previewVid.style.display='none';


let a =
document.createElement('a');


a.href=url;

a.download =
'recording-'+Date.now()+'.webm';


document.body.appendChild(a);

a.click();

document.body.removeChild(a);


stopBtn.disabled=true;

startBtn.disabled=false;


};


mediaRecorder.start();


startBtn.disabled=true;

stopBtn.disabled=false;


stream.getVideoTracks()[0].onended =
function(){


if(mediaRecorder &&
mediaRecorder.state !== 'inactive')
{

mediaRecorder.stop();

}

};


})
.catch(function(err){

alert(
'Could not start recording: '
+ err.message
);

});

};
Step 4 — Stop Recording Button
Add this below the previous JavaScript:
document.getElementById('btnStop').onclick =
function(){


if(mediaRecorder &&
mediaRecorder.state !== 'inactive')
{

mediaRecorder.stop();

}

};
Step 5 — Test the Application
Run the page.
Click:
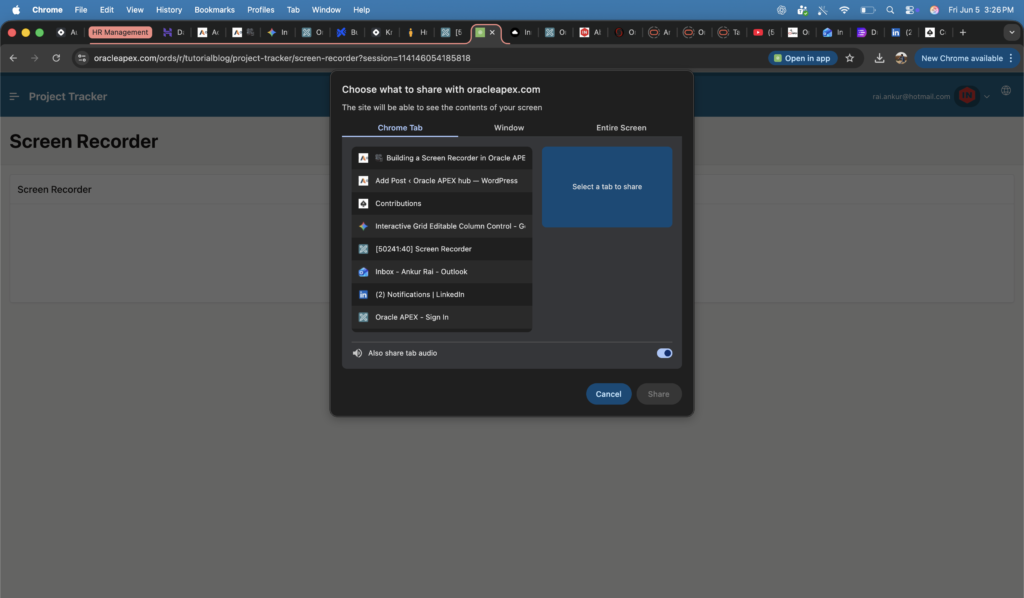
▶ Start RecordingBrowser permission popup appears:
Select:
Entire Screen
Window
Browser Tab
Click:
ShareNow recording starts.
You can see:
- Live screen preview
- Recording process
Click:
⏹ Stop & DownloadThe video will:
- Stop recording
- Generate WebM file
- Download automatically
- Display preview
Important Notes
Browser Support
MediaRecorder API works in modern browsers:
✔ Chrome
✔ Edge
✔ Firefox
HTTPS Requirement
Screen recording requires a secure context.
Works:
https://yourdomain.comMay fail:
http://localhostReal-Time Use Cases in Oracle APEX
1. Application Training
Users can record:
- Business process steps
- Application walkthroughs
2. Bug Reporting
Instead of explaining issues:
User records:
Click Flow
Error Message
Expected Result
and shares video.
3. Support Portal
Support teams can capture:
- User actions
- Screen behavior
- Errors
Conclusion
Using JavaScript’s MediaRecorder API, we can easily add screen recording functionality inside Oracle APEX without external libraries.
Oracle APEX + Browser APIs provide a powerful combination for building modern low-code applications with advanced user experiences.
Happy APEX Development 🚀
Hi, I’m Ankur Rai, an Oracle APEX Developer with 6+ years of professional experience in building enterprise applications. I specialize in creating scalable and efficient solutions using Oracle APEX, PL/SQL, and SQL to solve real-world business challenges.
I am a 3X Oracle APEX Professional Certified Developer and also an Oracle ACE Associate Member, actively contributing to the Oracle community by sharing knowledge, insights, and best practices. Through my blogs, I aim to help developers learn, grow, and build better Oracle APEX applications together.