1. Introduction
Modern applications demand secure and user-friendly authentication methods. Google Sign-In simplifies the login process by allowing users to authenticate using their existing Google accounts. In this blog, we’ll walk through the step-by-step process of configuring Google OAuth and integrating it with Oracle APEX.
2. Tools and Technologies
To achieve the desired functionality, the following technologies are used:
- Oracle APEX
- Google Cloud Console
- Web Credentials (APEX)
3. Business Requirement
Organizations often require a secure, reliable, and user-friendly authentication mechanism to reduce login friction and improve adoption. Integrating Google Sign-In in Oracle APEX:
- Eliminates the need for manual user credential management
- Enhances security through Google’s trusted authentication
- Provides faster onboarding and improved user experience
- Supports modern enterprise authentication standards
4. Implementation Steps
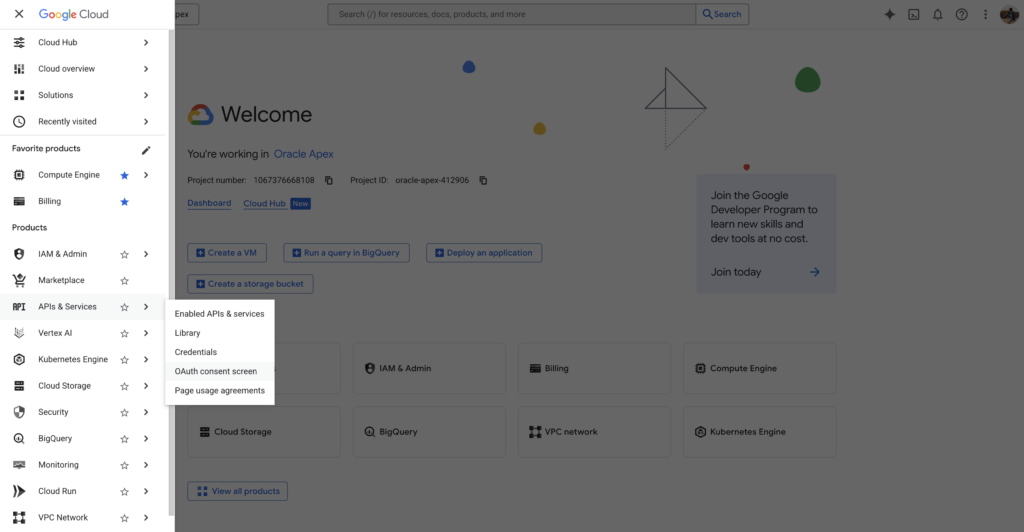
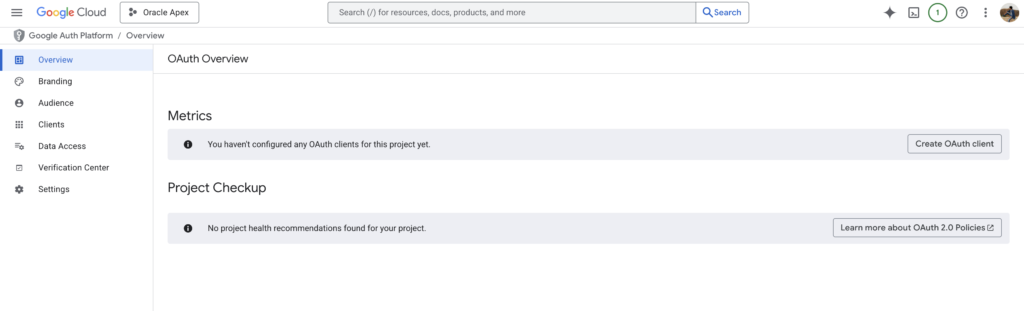
Step 1: Create a Project in Google Cloud Console.
Start by creating a new project in the Google Cloud Console if you don’t already have one. This project will manage your OAuth configuration and credentials.
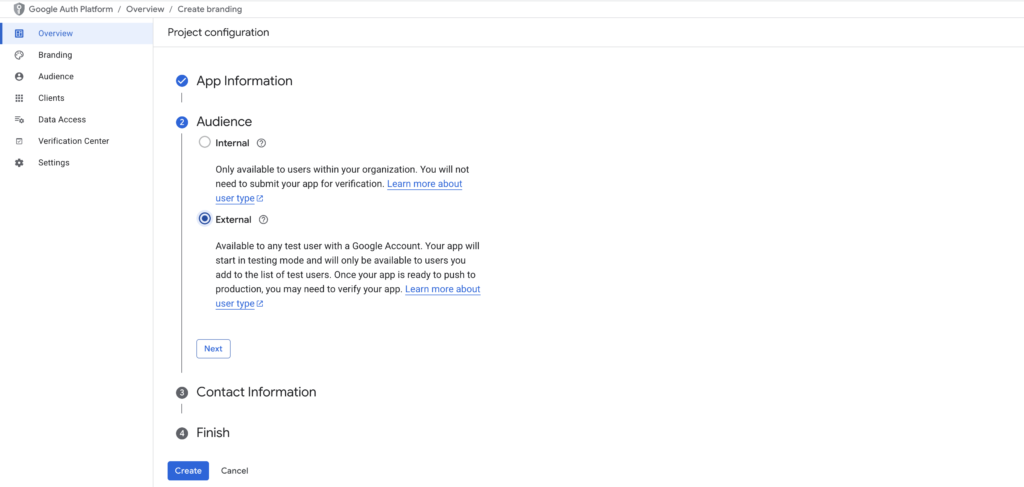
Step 2: Configure OAuth 2.0 Consent Screen.
Set up the OAuth consent screen by providing application details such as:
- Application name
- Authorized domains
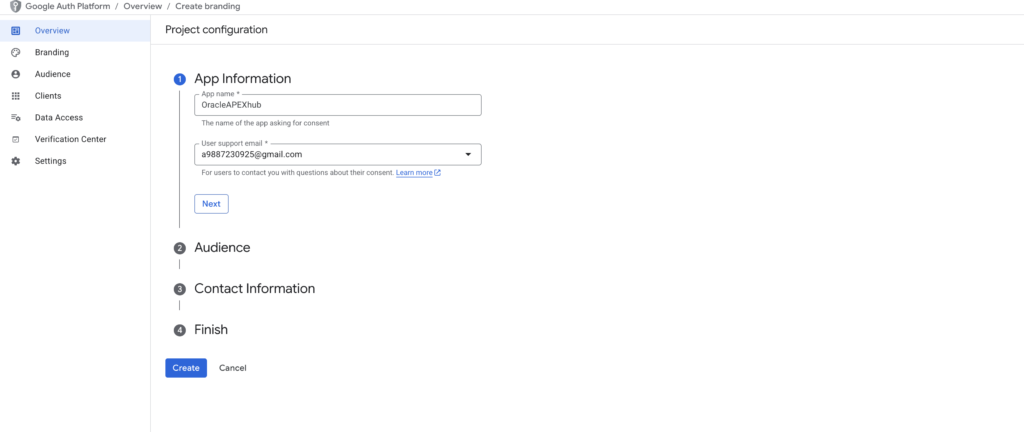
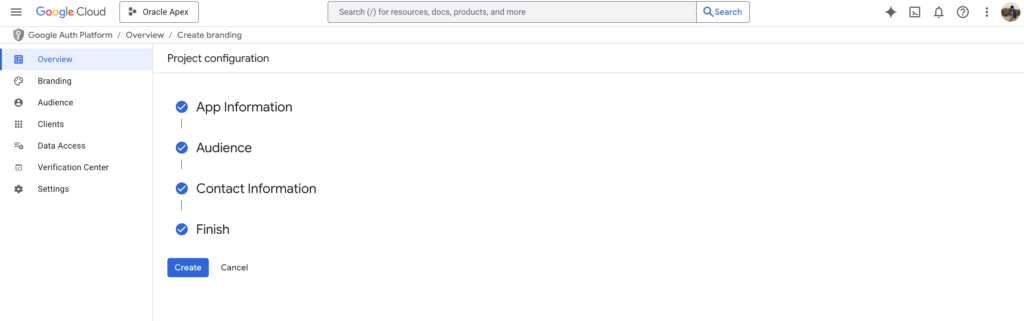
User support email This screen is shown to users when they attempt to sign in with Google.
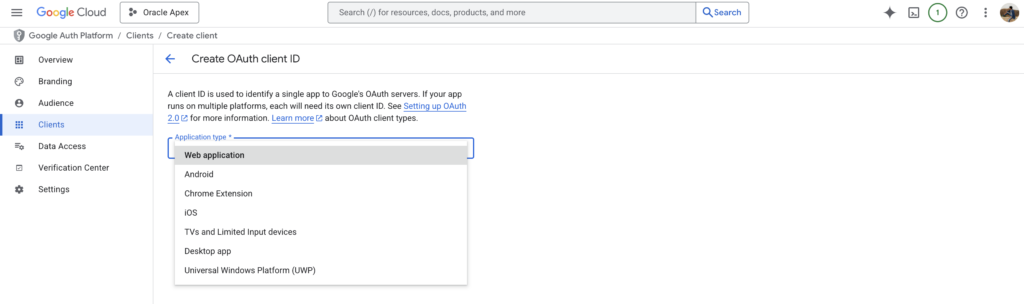
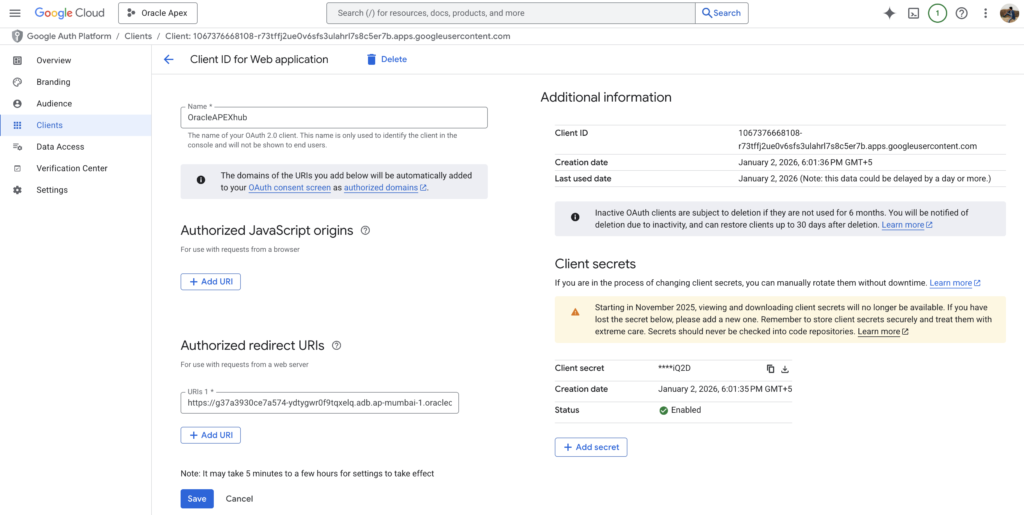
Step 3: Create OAuth Client ID.
Create an OAuth Client ID and select Web Application as the application type.
Use the following URL as the Authorized Redirect URI:
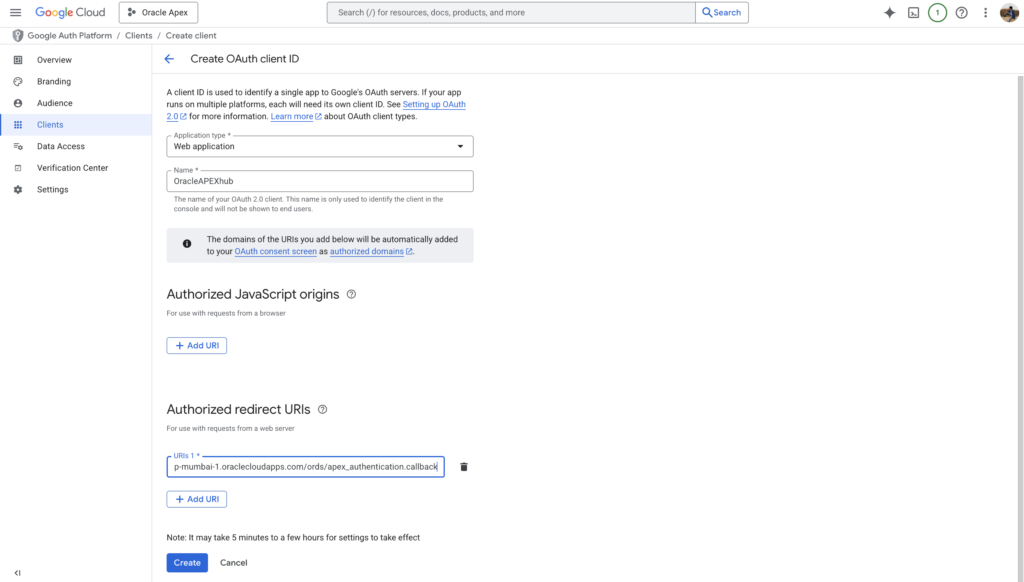
For Free Workspace APEX Application:
https://apex.oracle.com/pls/apex/apex_authentication.callbackFor Cloud APEX Application:
https://g37a3930ce7a574-ydtygwr0f9tqxelq.adb.ap-mumbai-1.oraclecloudapps.com/ords/apex_authentication.callback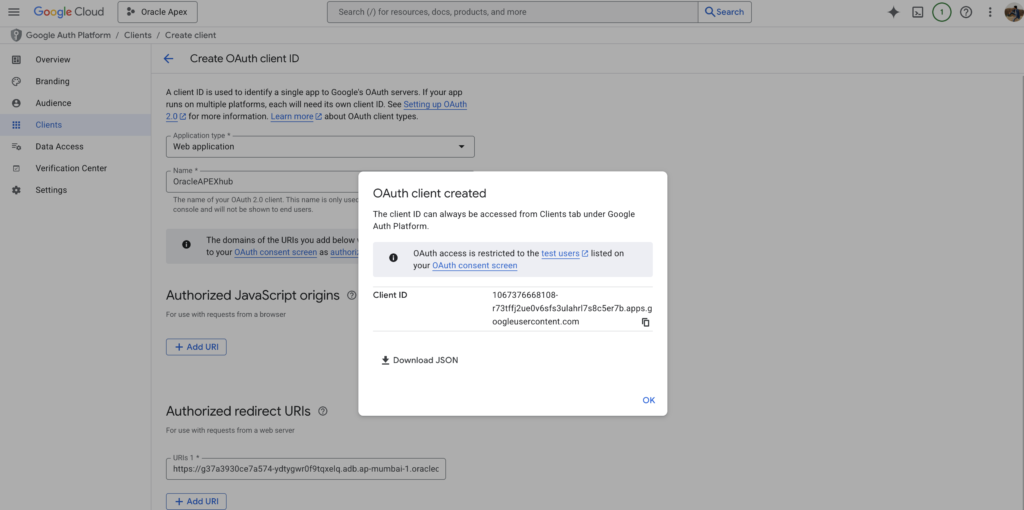
This callback URL allows Google to redirect users back to Oracle APEX after successful authentication.
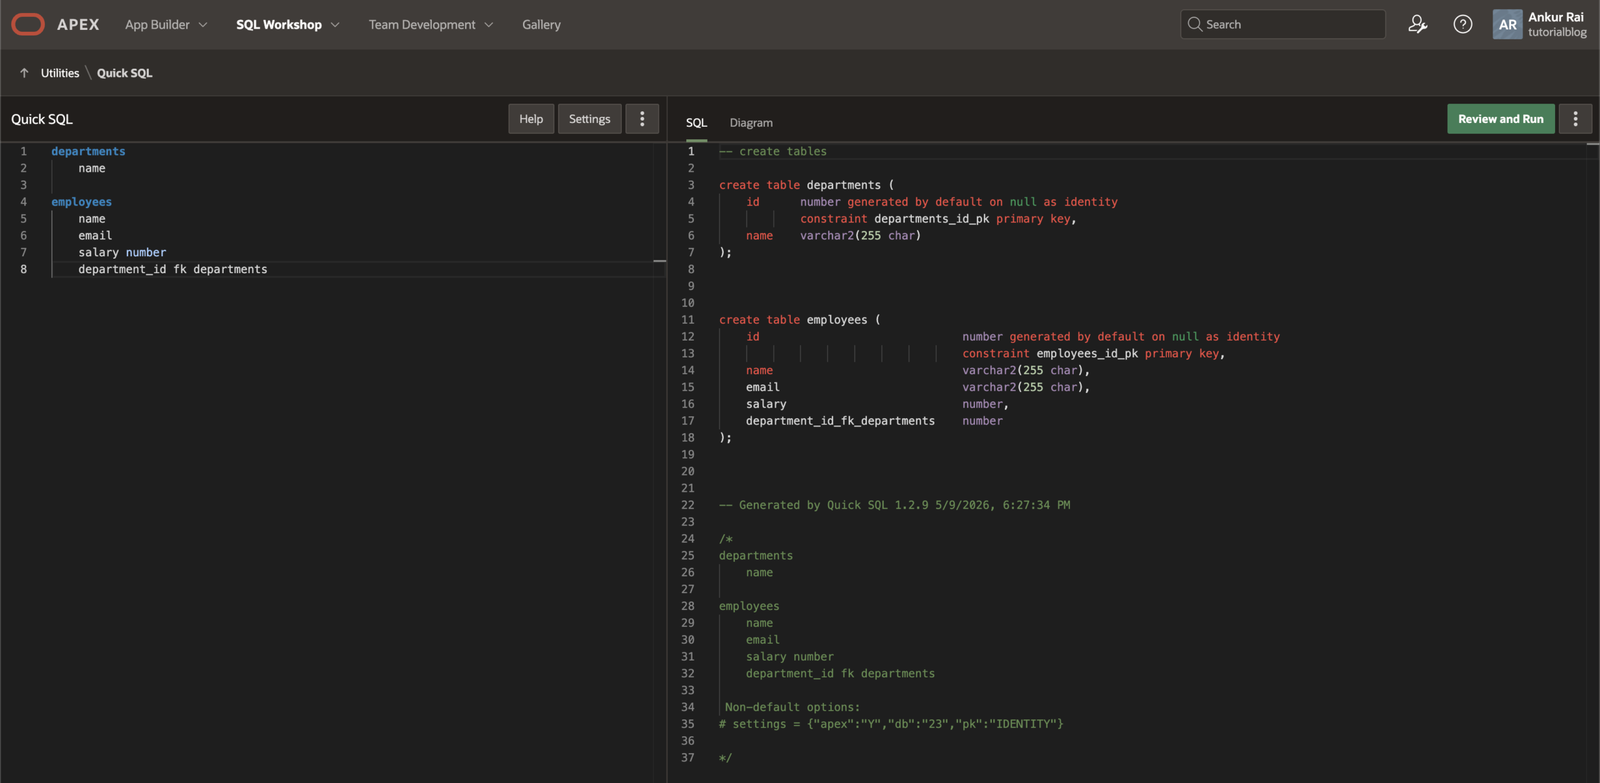
Step 4: Set Up Web Credentials in Oracle APEX.
Log in to your Oracle APEX workspace and navigate to:
App Builder → Workspace Utilities → All Workspace Utilities → Web Credentials
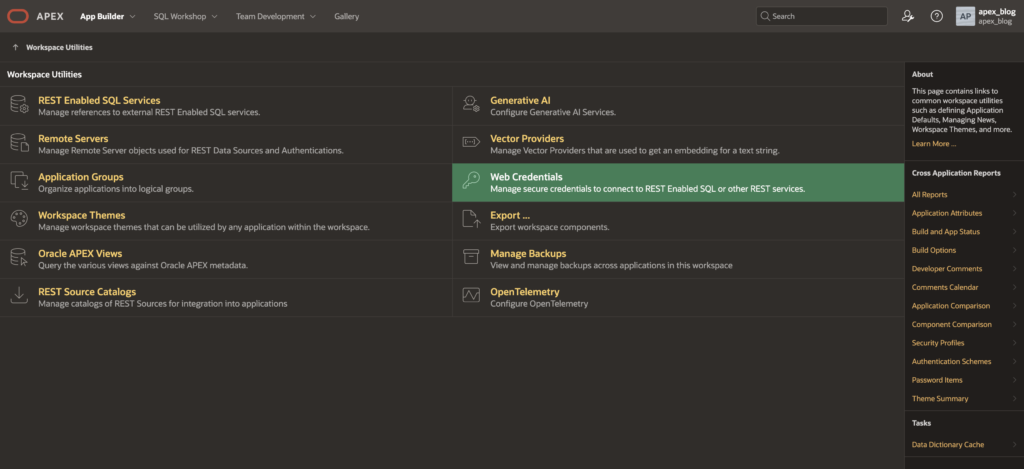

Create a new Web Credential using the Client ID and Client Secret generated in Google Cloud Console.
Step 5: Configure Authentication Scheme in Oracle APEX.
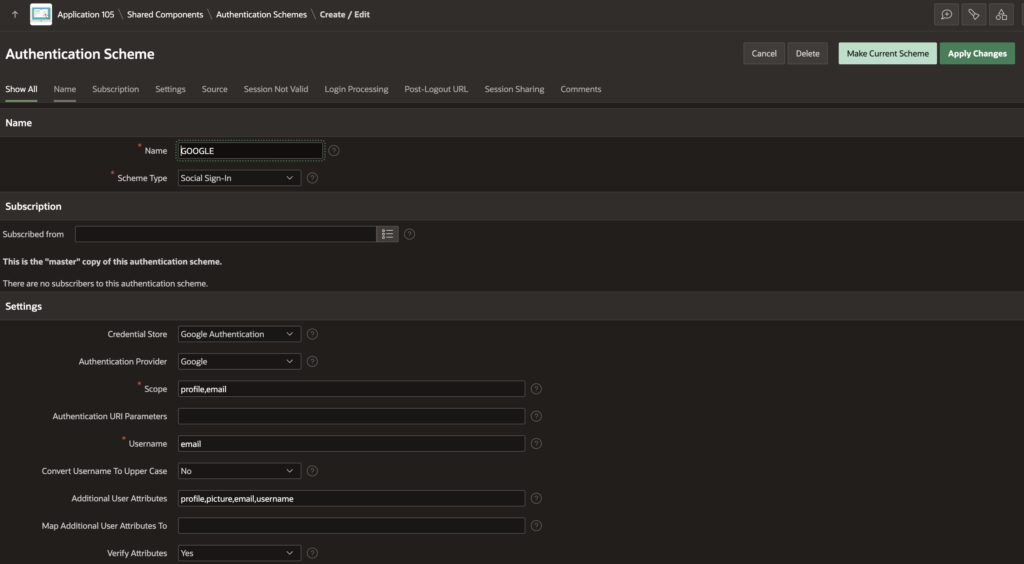
- Create a new authentication scheme or modify an existing one
- Choose Social Sign-In and select Google
- Make sure you Enable the Session Switch option to allow seamless authentication handling
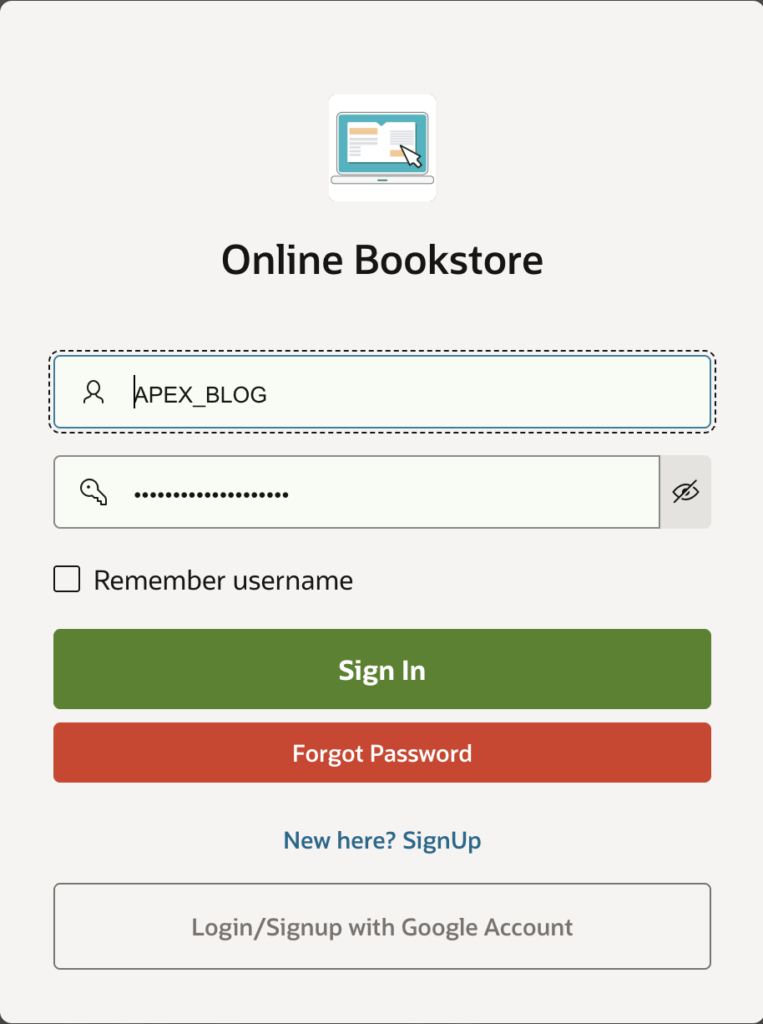
Step 6: Add “Continue with Google” Button.
On your application’s Login Page, create a new button labeled Continue with Google.
Button Settings:
- Action: Redirect to Page in this Application
- Target Page: Home Page
- Advanced → Request:
APEX_AUTHENTICATION=GoogleThis triggers the Google authentication flow when the button is clicked.
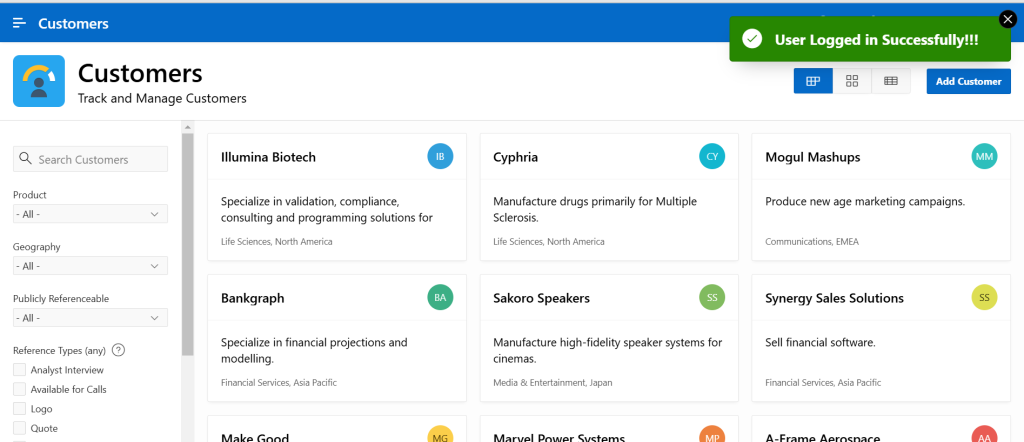
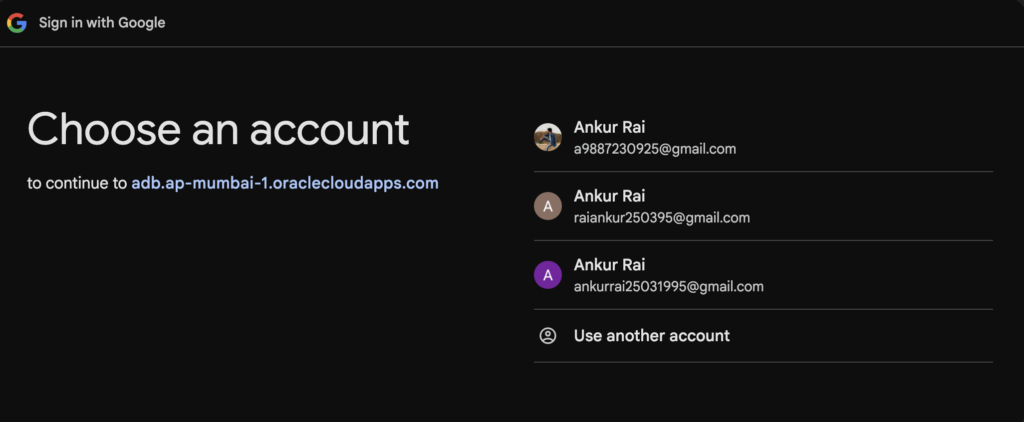
5. Final Output
🏁 Conclusion
That’s it! Your Oracle APEX application is now successfully integrated with Google Sign-In authentication. Users can securely log in using their Google accounts, improving both security and user experience.
If you like this article Please share with your friends and family members to appreciate or work and help others.
Hi, I’m Ankur Rai, an Oracle APEX Developer with 6+ years of professional experience in building enterprise applications. I specialize in creating scalable and efficient solutions using Oracle APEX, PL/SQL, and SQL to solve real-world business challenges.
I am a 3X Oracle APEX Professional Certified Developer and also an Oracle ACE Associate Member, actively contributing to the Oracle community by sharing knowledge, insights, and best practices. Through my blogs, I aim to help developers learn, grow, and build better Oracle APEX applications together.